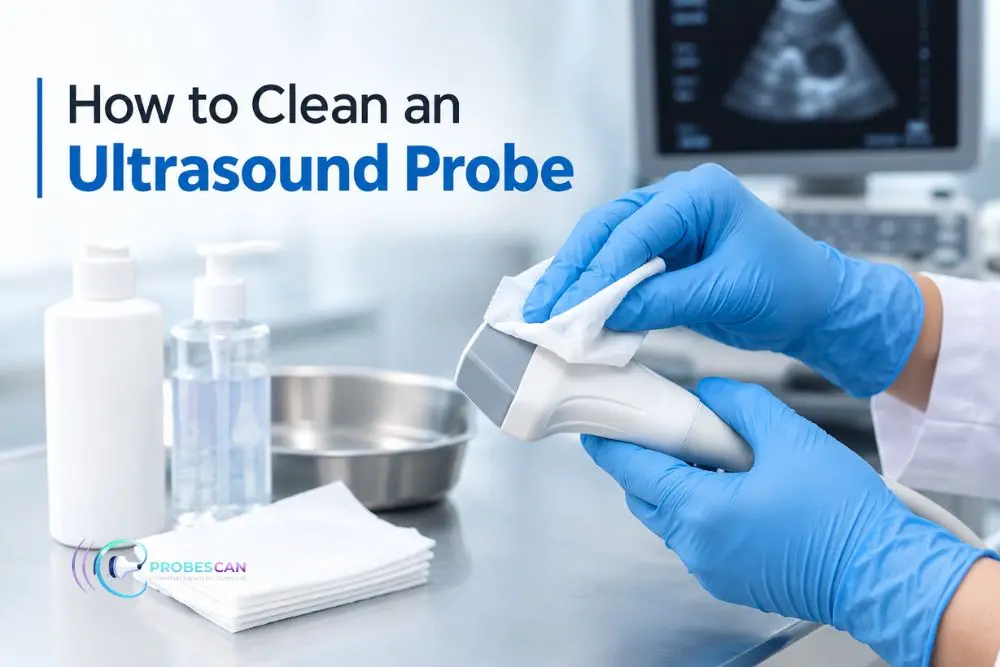
Ultrasound probes come into direct contact with patients during diagnostic examinations, making proper cleaning and disinfection an essential part of everyday ultrasound equipment care. Correct cleaning helps maintain hygiene, protect patients, and preserve the condition and performance of the probe.
However, ultrasound probes are delicate medical devices. Using the wrong cleaning products, excessive force, or an incorrect cleaning method can damage the acoustic lens, housing, cable, or internal components.
So, how do you clean an ultrasound probe correctly?
The answer depends on the type of probe, its intended clinical use, and the manufacturer's cleaning and disinfection instructions. This guide explains the general steps and precautions healthcare professionals should consider.
Why Is Ultrasound Probe Cleaning Important?
Ultrasound probes can come into contact with skin, ultrasound gel, bodily fluids, and other contaminants during examinations. Without appropriate cleaning and disinfection, contamination can remain on the probe and potentially be transferred between patients.
Regular and appropriate cleaning helps:
Remove ultrasound gel and visible contamination
Reduce the risk of cross-contamination
Maintain appropriate infection-control practices
Protect the probe's acoustic surface
Prevent residue buildup
Maintain probe performance
Extend the service life of the equipment
Cleaning should therefore be treated as an important part of routine ultrasound probe handling.
What Is the Difference Between Cleaning and Disinfection?
Cleaning and disinfection are not the same process.
Cleaning removes visible dirt, gel, organic material, and other contaminants from the probe.
Disinfection uses an appropriate disinfectant to reduce or eliminate microorganisms after cleaning.
The level of disinfection required depends on how and where the probe is used. A probe used on intact skin may have different requirements from a probe used for procedures involving mucous membranes or other higher-risk applications.
Always follow the manufacturer's instructions and your healthcare facility's infection-control procedures.
How to Clean an Ultrasound Probe
Step 1: Disconnect the Probe When Appropriate
If required by the ultrasound system manufacturer, remove or disconnect the probe before cleaning.
Handle the probe carefully and avoid pulling it from the system by its cable.
Step 2: Remove Ultrasound Gel
After the examination, remove ultrasound gel from the probe as soon as practical.
Use a soft, suitable cloth or material recommended by the manufacturer. Avoid scraping the acoustic lens or using abrasive materials.
Leaving gel on the probe for extended periods can allow residue to build up and make cleaning more difficult.
Step 3: Wipe Away Visible Contamination
Use an approved cleaning method to remove visible contamination from the probe.
Pay attention to:
Acoustic lens
Probe housing
Handle
Cable
Connector area
Do not allow excessive moisture to reach the connector or other areas that are not designed for liquid exposure.
Step 4: Use an Approved Cleaning Solution
Only use cleaning products that are compatible with the specific ultrasound probe.
Different probes can have different material and chemical-resistance requirements. A product that is safe for one probe may damage another.
Before using any cleaning solution, check the probe manufacturer's instructions for approved products and concentrations.
Step 5: Disinfect the Probe When Required
If the clinical application requires disinfection, use the appropriate disinfectant according to the manufacturer's instructions.
Follow the recommended:
Disinfectant type
Concentration
Contact time
Application method
Rinsing requirements, if applicable
Do not exceed recommended exposure times or use stronger solutions than specified.
Step 6: Allow the Probe to Dry
After cleaning and disinfection, allow the probe to dry according to the manufacturer's instructions.
Do not use excessive heat or unsuitable drying equipment, as this may damage sensitive probe components.
Step 7: Inspect the Probe Before Use
Before returning the probe to service, inspect it for visible signs of damage.
Check for:
Cracks
Cuts
Damaged acoustic lens
Cable wear
Connector damage
Loose components
Signs of fluid penetration
Other unusual physical changes
If you notice damage or a change in image quality, consider having the probe professionally inspected before continued use.
How to Clean Different Types of Ultrasound Probes
The cleaning procedure can vary depending on the probe and its clinical application.
External Ultrasound Probes
Linear, convex, and phased-array probes used externally generally require cleaning after use, followed by the appropriate level of disinfection based on the clinical procedure.
Endocavitary Probes
Endocavitary probes require additional infection-control considerations because they are used for internal examinations.
Follow the manufacturer's instructions for cleaning, disinfection, protective covers, and any other required procedures.
TEE Probes
TEE probes require particularly careful cleaning because of their specialised design and use.
The insertion tube, distal tip, controls, cable, and other components must be handled according to the manufacturer's specific reprocessing instructions.
3D and 4D Probes
3D and 4D probes may contain additional mechanical or electronic components. Avoid cleaning methods that could allow liquid to enter sensitive areas.
The manufacturer's instructions should always take priority.
Common Ultrasound Probe Cleaning Mistakes
Even with regular cleaning, incorrect procedures can damage a probe.
Using Household Cleaning Products
Household cleaners may contain chemicals that are unsuitable for medical ultrasound probes.
Always use products approved for the specific probe.
Using Abrasive Materials
Rough cloths, abrasive pads, or aggressive scrubbing can damage the acoustic lens and external surfaces.
Use suitable soft cleaning materials.
Applying Excessive Pressure
The acoustic lens is a sensitive part of the probe. Excessive pressure during cleaning can cause unnecessary wear or damage.
Clean gently and follow the recommended procedure.
Immersing the Probe Incorrectly
Not every probe is designed for the same level of immersion.
Never assume that a probe can be fully immersed. Check the manufacturer's instructions before using any immersion-based cleaning or disinfection method.
Soaking the Cable or Connector
The cable and connector may have different liquid-resistance requirements from the probe head.
Avoid unnecessary exposure to liquids and follow the manufacturer's instructions carefully.
Ignoring the Recommended Contact Time
Using a disinfectant for longer than recommended does not necessarily provide better results and may damage the probe.
Follow the manufacturer's specified contact time.
Continuing to Use a Damaged Probe
If the probe has cracks, damaged insulation, exposed wiring, fluid ingress, or other visible problems, continued use may increase the risk of further damage.
Have the probe assessed by a qualified service provider.
Can Ultrasound Gel Damage a Probe?
Ultrasound gel itself is designed for use with ultrasound equipment, but leaving gel residue on a probe for long periods can make cleaning more difficult.
After each examination, remove excess gel using an appropriate cleaning method. Avoid allowing gel to accumulate around the cable, connector, housing, or other areas of the probe.
How Often Should an Ultrasound Probe Be Cleaned?
Ultrasound probes should generally be cleaned after use, with the required level of disinfection determined by the probe's clinical application and the healthcare facility's infection-control procedures.
The exact cleaning and disinfection process should always follow the manufacturer's instructions for the specific probe model.
How to Protect an Ultrasound Probe During Cleaning
Good cleaning practices should be combined with careful handling.
Keep these points in mind:
Never pull the probe by its cable.
Avoid dropping or striking the probe.
Use only compatible cleaning and disinfecting products.
Do not use abrasive materials.
Avoid excessive pressure.
Keep liquid away from connectors and sensitive areas.
Do not use unapproved immersion methods.
Follow the manufacturer's recommended contact times.
Inspect the probe regularly for damage.
Arrange professional inspection when faults are identified.
When Does a Probe Need Professional Inspection?
Cleaning cannot fix mechanical, electrical, or internal probe faults.
If you notice any of the following after cleaning or during normal use, professional evaluation may be necessary:
Poor or inconsistent image quality
Missing image lines or elements
Intermittent signal
Cable damage
Connector problems
Cracked housing
Damaged acoustic lens
Fluid leakage or suspected fluid ingress
Unusual heating or other abnormal behaviour
Early inspection can help identify the problem and determine whether the probe can be repaired.
Probescan Ultrasound Probe Repair and Maintenance
Probescan provides professional ultrasound probe repair, diagnostics, evaluation, maintenance, and technical support from Dubai, UAE.
With more than 22 years of experience, Probescan's certified biomedical engineers support hospitals, clinics, and diagnostic centres with ultrasound probe services.
If a probe develops performance issues, physical damage, cable problems, connector faults, or other technical issues, professional diagnostics can help determine the appropriate repair solution.
Final Thoughts
Knowing how to clean an ultrasound probe properly is an important part of ultrasound equipment maintenance. Removing gel after examinations, using approved cleaning products, following appropriate disinfection procedures, and handling the probe carefully can help protect both patients and equipment.
Most importantly, always follow the manufacturer's instructions for the specific ultrasound probe. Different probes have different cleaning, disinfection, and immersion requirements.
If your ultrasound probe has developed damage or performance problems, professional diagnostics and repair can help determine the cause and appropriate next step.
Contact Probescan
Location: Dubai, UAE
Phone: +971 04 451 4824
Email: support@probescanglobal.com